Wednesday, 16 September 2015

GHUGNI


GHUGNI is a mouthwatering Bengali street food, precisely famous in the Indian state of West Bengal. Although a street food, it is cooked in the Bengali Homes regular using dried yellow peas. For all such posts there is the same kind of nostalgia attached; the reason why I feed you the same kind of story when it comes to any food related to Bengal, Family or to be precise, related to the Bengali culture itself. Just like the Kulfiwala, a Ghugniwala also used to visit our neighbourhood in the evenings. These guys were demi-Gods to us kids... a relief from the monotony of studies.... one call and we were in our balcony. Hence they were considered villains by the kinds of our mother. 

However, I feel the daddy of the house was not bothered about such trivial issues but he too did not like outside food much. In short, the story is, in those days at every middle class neighbourhood, these vendors would flock in....we would get distracted and our mother particularly would come up with the same dialogue, "they are unhygienically made, I will prepare for you at home." We kids were never happy with such decisions, that was not the age to accept. She kept her words but we craved for what we could not have.

Though Ghugni is exclusively a street food, in our home or may be in many other Bengali homes too, it was always served with luchi [puffed bread made of refined flour]. I remember this was our breakfast on many a Sundays and on my birthdays..... "luchi, ghugni, dum aloo, mutton or chicken, kheer, roshogolla" would usually be the menu, only the cake, roshogolla, sandesh, fruits were store bought. Its time to prove I have learnt a bit from our mother, hence I try to take care of my family, the way she does. Also do I wish to support and keep alive the street food culture which this day is facing tough competition from the big giants.


INGREDIENTS :

Yellow Peas / Matar : 250gm
Onion : 1big
Green Chilli : 2 [slitted]
Ginger Paste : 1tbsp
Cumin Powder : 1 tsp
Coriander Powder : 1 tsp
Coriander Seeds : 1/2tsp
Cumin Seeds : 1/2tsp + 2pinches for tempering
Dry Red Chilli : 2
Bayleaf : 1
Salt : As Required
Turmeric Powder : 1tsp
Tamarind Juice : 3-4 tbsp
Oil : 2tbsp
Chopped Coriander, Green Chilli, Onion to garnish.

METHOD :

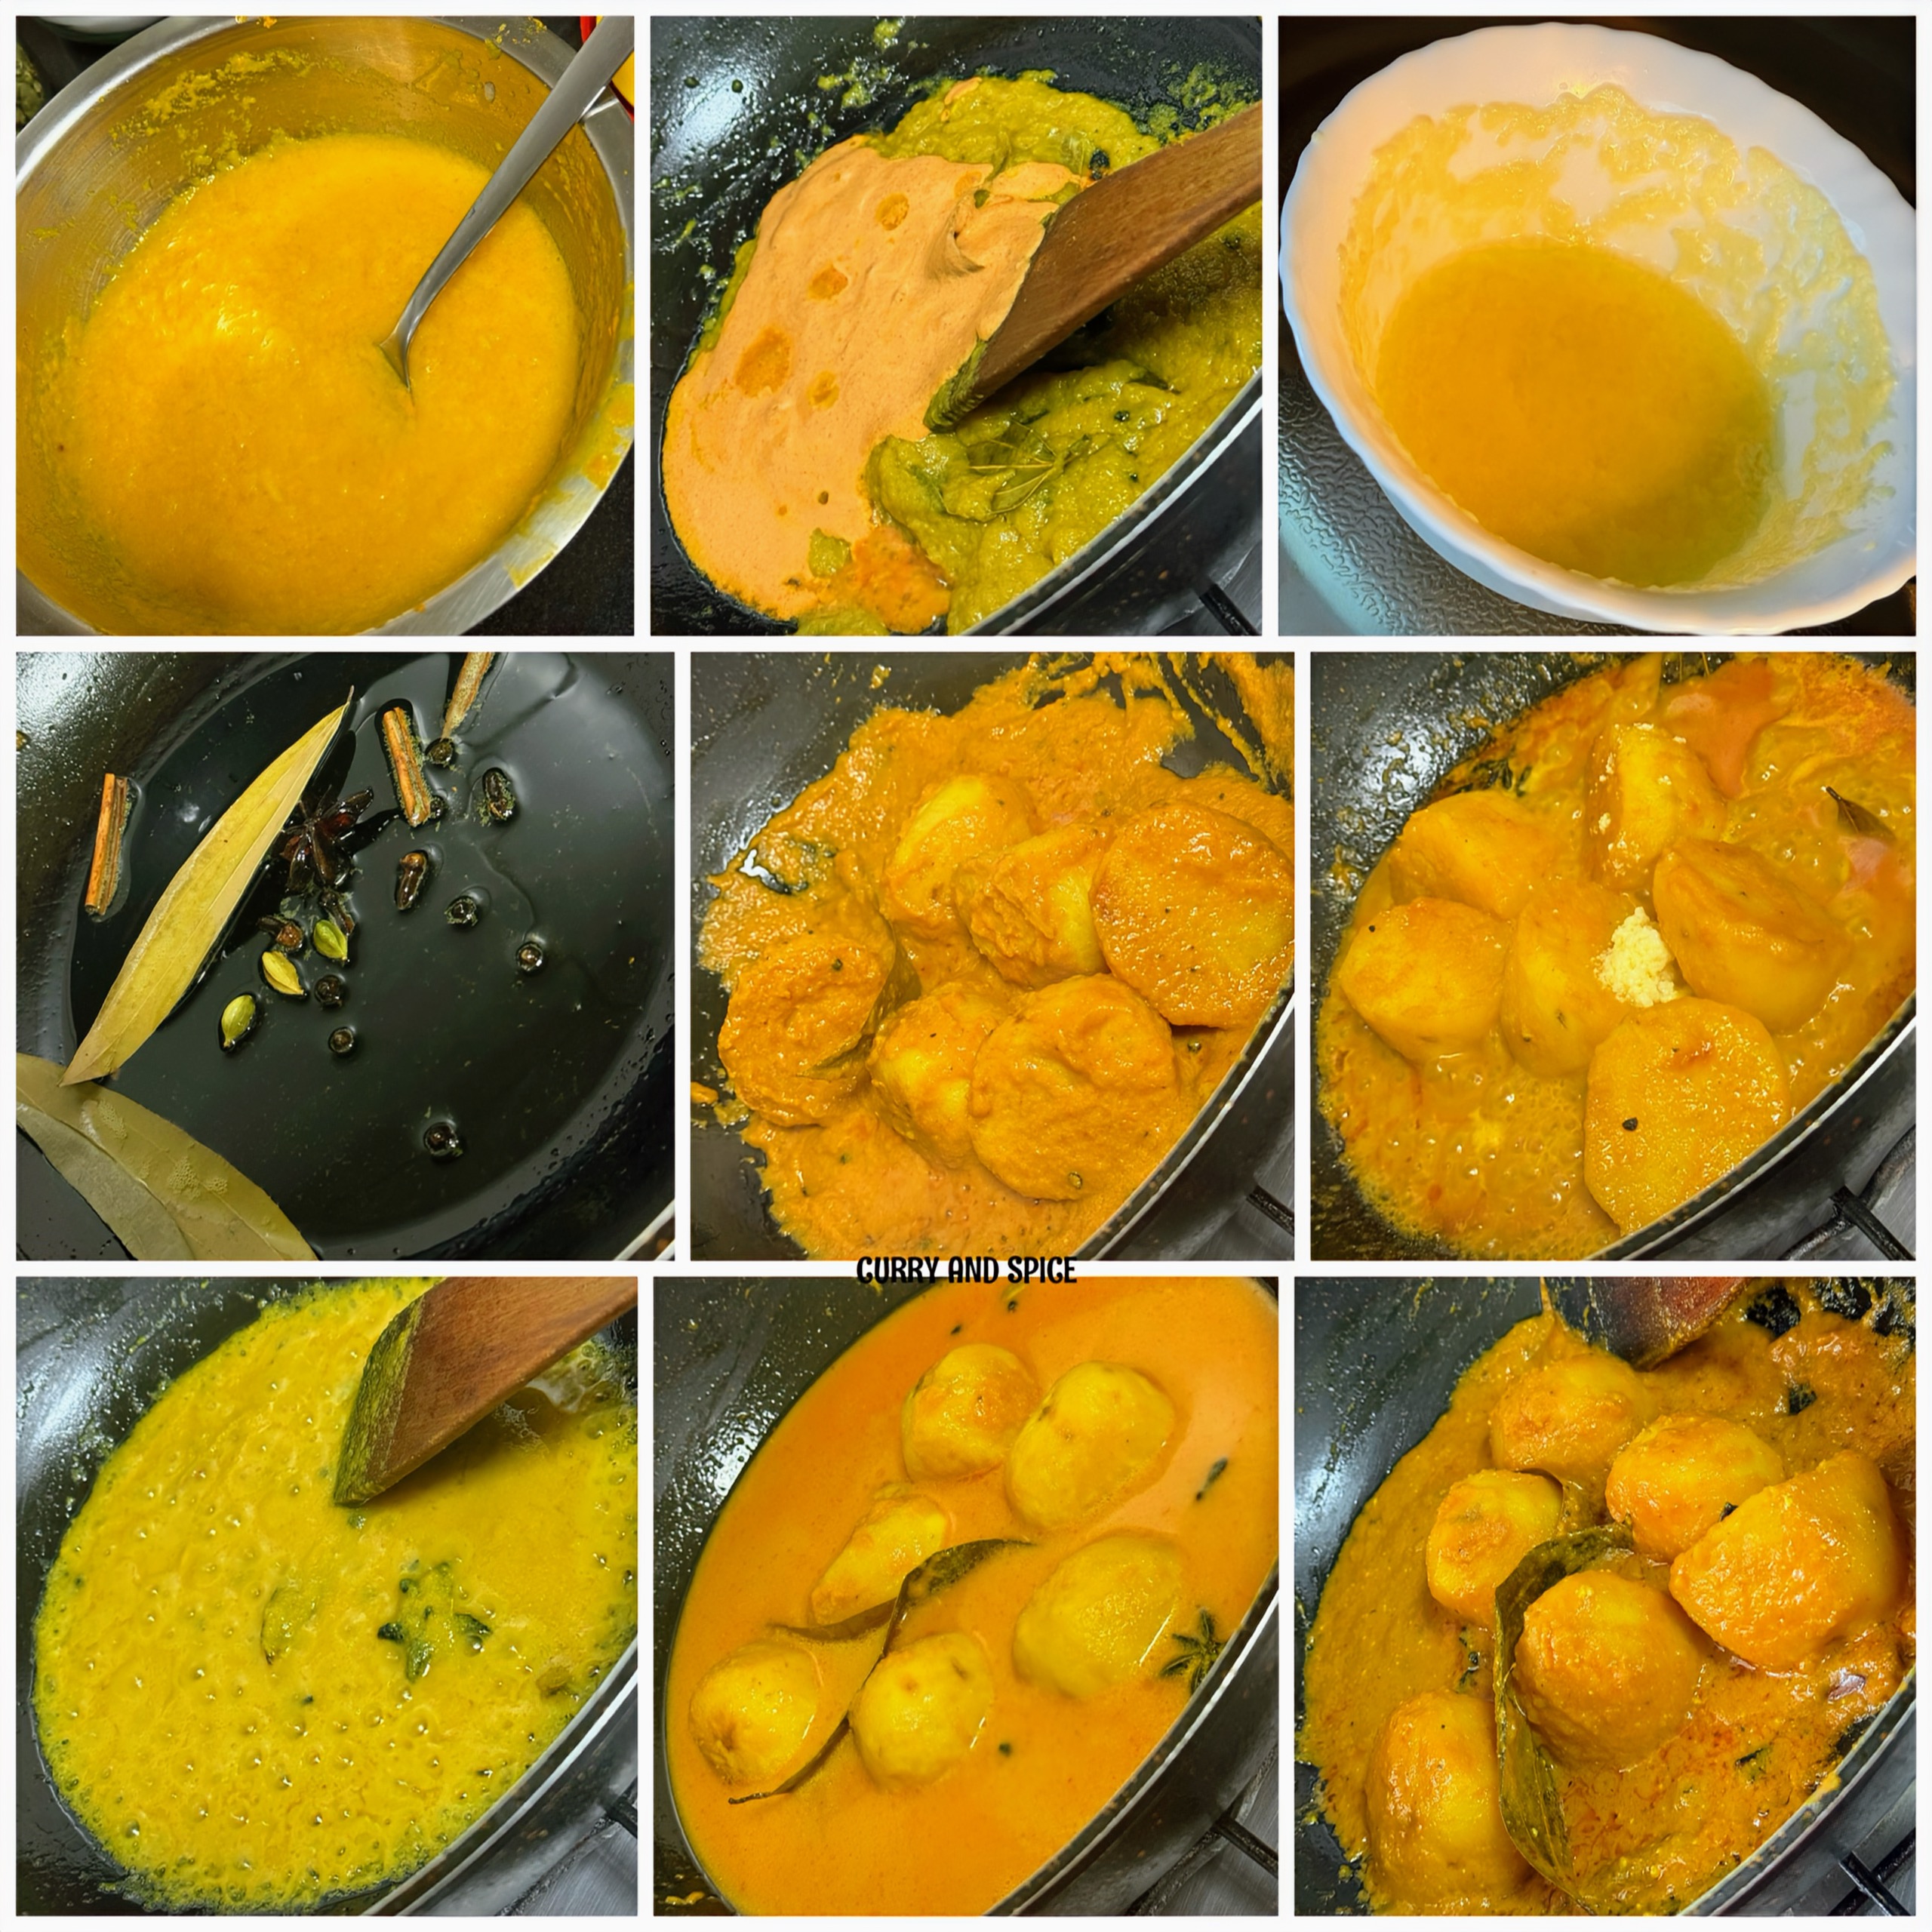
Wash and soak the yellow matar in water for 4-5 hours. Take in a vessel and boil in enough water adding salt and turmeric at low heat, covered 80-85%. Better is to pressure cook adding enough water unto two whistles at minimal heat.


Dry roast 1/2 tsp of cumin seeds, 1/4tsp coriander seeds, 2 dry red chillies and blend to a coarse powder.


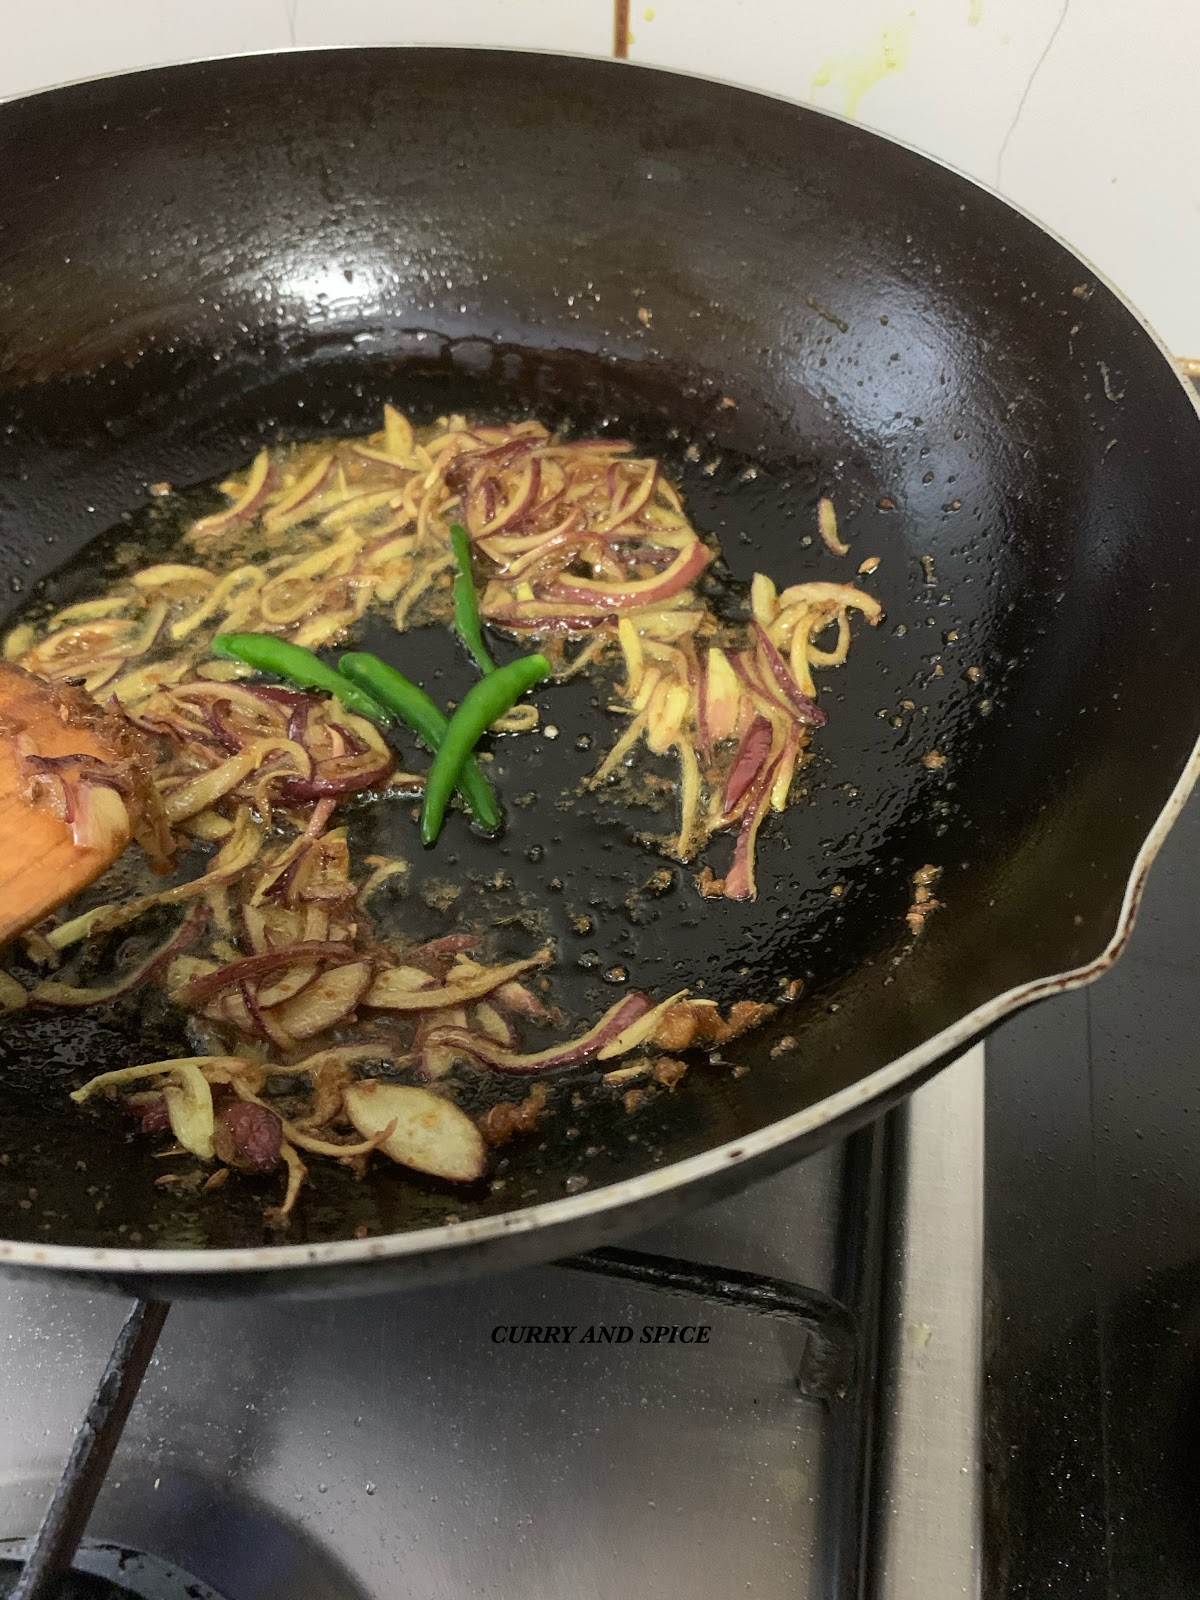
Heat the oil in a wok, temper it with a bay leaf and 2 pinches of cumin seeds. 


Peel, wash, slice the onions, add to the wok. Fry until golden brown.


Add the slitted green chillies, give a stir. Add the boiled yellow peas, cumin and coriander powders, stir well and cover cook at low heat for 14-15 minutes.


Thereafter, remove the cover add the ground spices. Stir and cook for another 3-4 minutes.


I had soaked a tsp of tamarind pulp in a small bowl of water for 1/2 an hour, squeezed the pulp well to get the juice.

Switch off the gas stove and add the tamarind juice to the wok now, mix well.


Garnish with chopped coriander leaves, onion and green chillies before serving.

It is actually a Bengali street chat but our mother always served it with luchi; hence....


Saturday, 12 September 2015

POTATO BIRYANI


The once vegetables hater girl enjoys her choice of vegetarian dishes in the present day. Perhaps too much of non-veg diet is the reason. I remember, our parents did not like having non-vegetarian food while on the tours. They felt it is not safe to have fish /meat in the hotels or in the outdoors considering the hygiene part. It was a kind of punishment to me. Even my obedient self refused and used to say I cannot go vegetarian for 10-15 days. I clearly visualise the teen sitting beside the Dal Lake and demanding for fish..... the father walked down from here to there and got a fish fry. That I did not like it is a different story. Back to the present, I do feel sorry for putting them in trouble. In the pursuit of cooking a tasty vegetarian dish, I prepared this Potato Biryani and served it with chicken kebabs and raita. This is one way of satisfying myself and keeping my religiously non-vegetarian men happy. You see I have used khoya in the preparation as told by the person who gave this recipe. Back in Kolkata, there are a number of biryani outlets in my neighbourhood, I have learnt about this use of khoya / semi-solidified milk in biryani from a cook who happens to live in the locality. He happens to be my Kolkata help's elder son-in-law. Let us do it.


INGREDIENTS : [for instant khoya]

Milk Powder : 1small cup
Ghee[clarified butter] : 2tsp
Whole milk : 1/2 cup

INGREDIENTS : [for the rice]

Basmati Rice : 1big cup
Green Cardamom : 3-4
Cinnamon : 1inch stick one
Cloves : 3-4
Mace : 2-3
Star Anise : 2-3
Black Cardamom : 2
Bay Leaf : 2-3
Salt : As required
Water : As required

INGREDIENTS :[for cooking the potato]

Potatoes : 2-3
Plain Yogurt : 3-4 tbsp
Whole Spices :[ 5-6 black peppercorns, 2 one-inch cinnamon stick, 3-4 cloves, 3-4 green cardamom, 1 star anise]
Salt : As required
Ginger Paste : 1tsp
Garlic Paste : 2tsp
Onion Paste : 2tbsp
Cumin Powder : 1/2 tsp
Coriander Powder : 1/2 tsp
Red Chilli Powder : 1/2 tsp
Black Pepper Powder : 1/4 tsp
Cinnamon Powder : 1/4 tsp
Green Cardamom Powder : 1/4 tsp
Turmeric Powder : 1/4 tsp
Oil : 2tbsp
Ghee : 1tbsp

INGREDIENTS : [final round]

Ghee : 2-3 tbsp
Khoya : 1/2 small cup
Rose Water : 4-5 drops I do not use Kewra Water or Meetha Atar]

METHOD :

Lets prepare the khoya first. Mix together the milk powder, whole milk and ghee in a bowl and microwave at high for 3 minutes stirring every 30 seconds.


Boil enough water in a vessel to prepare the rice. Add salt and a teaspoon of ghee to the water. Take a clean cloth, add the whole spices mentioned, tie and put into the boiling water. The rice has to be washed and soaked for 1/2 an hour. Add it to the boiling water and cook until 70% done. Drain the water and discard the whole spices.


Peel and wash the potatoes. Marinate with salt & turmeric and fry in the oil, take them out. I forgot to click this part.

Mix together the turmeric, salt, onion-ginger-garlic pastes. Heat oil and ghee together in a wok, add the  spice paste and fry for 3-4 minutes. 

Beat together the plain yogurt, cumin-coriander-red chilli powders and add to the wok. Stir cook for 1-2 minutes. Add the potatoes with the marinade and cook till they are 75% done. Add the 2-3 drops of rose water, cinnamon, green cardamom powders, a little of the khoya and fold in well. Take down.


Now we are to do the final step. Add the khoya / semi-solidified milk, 4-5 drops of rose water and ghee to the rice, mix lightly. This ensures less consumption of ghee.

In a deep bottomed pan arrange bayleaves to avoid burning of the rice. But you should grease the bottom of the vessel with ghee and oil, I did not like the smell of slightly charred bayleaves in the biryani.

Add half of the rice first. Thereafter, add the potatoes with gravy, then again the rice and the rest of the gravy. You can make three such layers too. The top most layer should be rice. 

Place a frying pan on the top of the gas stove. Place the vessel on it. Cook at low heat for 50-55 minutes, shaking 2-3 times in between.

Its done, serve hot. I served the Potato Biryani with some chicken kebabs and plain yogurt.


Thursday, 10 September 2015

MURG KALIMIRCH


I was thinking about the working women sitting idle with my books, music and tea. Would the women who come back home from the office tired and think on my line, say that they love to cook? Even if they enjoy cooking, they do not have the luxury to go ahead with an elaborate cooking spread on a weeknight! That does not mean they do not love their family. Let us not keep them under fire and ask a silly question..."what comes first to you?" The practical world does not expect a "Durga" at every home... all are human beings. Keeping these on my mind, I prepared this simple desi style black pepper chicken with minimal spices. I did not follow other black pepper chicken recipes already present in the internet. It was a kind of an experiment for me using only onion, ginger and garlic pastes, lemon juice, freshly ground black pepper and turmeric. I visualised a tired woman in the kitchen on a week night and proceeded. The curry was light and soupy, went well with hot rotis. Served with rotis alongside a veggie or dal, it is an excellent and easy weekday menu which will make your family happy. Let us see how we do it.


INGREDIENTS :

Chicken : 500gm
Onion : 1 large
Garlic Paste : 1tbsp
Ginger Paste : 1 tsp
Lemon Juice : 4 tbsp
Black Pepper Powder [freshly ground] : 1tbsp
Turmeric Powder : 1tsp
Salt : As required
Oil : 4 tbsp

METHOD :

Wash the chicken thoroughly. Marinate with lemon juice, black pepper powder, half of the turmeric powder and salt as required. Keep aside for an hour.

Peel, wash and slice the onions. Heat the oil in a wok. Fry the sliced onions until golden brown.

Add the ginger and garlic pastes, fry until the raw smell goes away. Add the rest of the turmeric powder and salt  as required. Stir for a minute.

Add the marinated chicken with all of the marinade. Stir and cover cook at medium to low heat until all of the water dries up. We need to stir every 5 minutes.

Add a cup of water and cover cook for another 8-10 minutes at medium to low heat.

Enjoy with any kind of flat or puffed breads or steamed rice.


Tuesday, 8 September 2015

GOAN PRAWN CURRY


Goa's main attractions are it's beaches, historical sites and it's cuisine that is spicy and flavourful. Decades back when we visited GoaI enjoyed sipping the extra large young coconut sitting at the beach as much as its food. My love for spicy food makes it quite natural for me to love the Goanese food... whether its in Goa or elsewhere. Goan food is influenced by its Hindu origin and 400 years of Portuguese colonialism. It;s food has an international appeal perhaps because of the demography of its tourists. Coconut milk, kokum[a special kind of tamarind?], seafood, fish, lamb,Goan food revolves around these. This particular recipe of prawn curry that I picked up from one of the master chef of India's collection does not have the use of kokum in it. I loved the spice mix the use of which made the curry bowl flavourful. This prawn curry goes extremely well with piping hot steamed rice. Come, let us do it.


INGREDIENTS :

Prawns : 500gm [medium sized]
Tomato : 1
Onion : 1
Cinnamon Powder : 1/2tsp
Cloves Powder : 1/4tsp
Coriander Powder : 1/2tsp
Turmeric Powder : 1tsp
Red Chilli Powder : 1/2tsp
Cumin seeds : 2pinches
Garlic Cloves : 3-4
Coconut Milk : 1cup
Curry leaves : 6-8
Salt : As required
Oil : 2tbsp

METHOD :

Clean, devein and wash the prawns, rub them with half of the turmeric and the required amount of salt.

Blend together the tomato, onion, garlic, cinnamon, cloves, coriander, red chilli powder. Transfer to a bowl and add the remaining salt and turmeric.

Heat the oil in a wok, temper with the cumin seeds and curry leaves. Add the spice paste and saute for 2-3 minutes.

Add the marinated prawns and stir for 2-3 minutes. Add the coconut milk and cover cook for 5 minutes at low heat.

Garnish with some curry leaves and serve hot with steamed rice.


Monday, 7 September 2015

NELEKATA...... COCONUT STUFFED FRIED DUMPLING


NELEKATA..... as called in my family is a fried dumpling with a coconut filling. This I have learnt after my marriage as it is a speciality of this side of the family. At my in-law's place, it is a must offering to Ladoo Gopal on the occasion of Janmashtami. Both my men are extremely fond of it that my mother-in-law used to prepare, now I make. We do not consider it as a pitha but rather a sweet snack. It is a pleasure to share a family recipe though I see there are similar ones with a slight difference made in other states of India.

I can have about 4-5 of them at one go; they would straightaway come from the wok to my plate! T used to have it the same way with the same love when young! Now that we are aging and I have diabetes; there has to be some control, we would not quit altogether; specially if it is a traditional family or community's recipe!

WHAT IS NELEKATA?

NELEKATA is a jaggery-coconut filled fried snacks. We can use sugar instead of jaggery! For the Nelekata, we need to prepare the coconut filling first with freshly shredded coconut and jaggery or sugar. Then we prepare a dough with all purpose flour, roll out small poori / roundel, stuff it with coconut filling, fold it, press the ends to close and deep fry them in oil. Works as perfect evening snacks for the kidos at home. 


INGREDIENTS :[for the filling]

Shredded Coconut : 2 coffee cups
Jaggery : 1 small tea cup [sugar can be used]
Green Cardamom Powder : 1/2 tsp


INGREDIENTS :[for the dumpling base]

All Purpose Flour : 2cups
Salt : 2 pinches
Ghee[clarified butter] : 1tbsp [oil can be used]
Water : As required

Oil : 100ml to deep fry the dumplings

METHOD :

In a wok, add the jaggery and shredded coconut, sprinkle a little of water. Stir cook at low heat, within 10-12 minutes, it would reach a sticky consistency! Add the green cardamom powder, fold in well. Our filling is ready!


Take the all purpose flour in a wide mouthed bowl. Add the salt and ghee or oil. Rub for 2-3 minutes.

Add water little at a time, knead to a smooth dough. This will take 10 minutes or so.

Roll out small poori from the dough and stuff with the filling.


Fold it and press to close the ends. Take a look at the picture below.

Heat 200ml oil in a wok, deep fry the dumplings in low heat.


Drain the oil as much as possible! 

It tastes best when hot. If we are to refrigerate, what we can do is we can warm it before serving for a minute in the microwave. They won't remain the same crisp!


Thursday, 3 September 2015

DHABEWALA ANDA CURRY


Egg was something I severely disliked as a child and my little brother completely hated it. Our mom had to try really hard to feed us eggs. I remember when my brother was 1 or 2 years old, mom used to mix the boiled egg yolk with lentils and forced feed him. The poor boy would strongly object to it. I feel force feeding does not really help. If our taste buds do not accept something, our body may not get the essential nutrient from that particular thing. The same naughty boy, however, loves Egg Rolls with lots of onions and chillies. After my marriage, it was a different scene. This side of my family had been egg lovers, specially my husband and mother-in-law. They specially like duck egg curries. We do not get fresh duck eggs in Singapore, but egg curries have to be prepared for his love for it. Hence I try to bring in variety in the curries. I think the son just eats eggs but has no interest in it, he is a meat lover. I keep on searching for recipes and found this DHABEWALA EGG CURRYdoable. I have started to like these Dhaba recipes, Railway Canteen recipes..... hahaha.... may be because they are rustic, flavourful, easily done in a jiffy and served fresh. Let us cook this flavourful and colourful Egg Curry in our kitchen.


INGREDIENTS :

Egg : 6
Tomato : 1big
Onion : 1big
Ginger Paste : 1tsp
Garlic Paste : 1tsp
Coriander Powder : 1tsp
Garam Masala Powder : 1/4tsp
Red Chilli Powder : 1tsp
Turmeric Powder : 1/2tsp
Salt : As Required
Cumin Seed : 2pinches
Oil : 3tbsp
Chopped Coriander leaves and Dried Fenugreek leaves for garnish.

METHOD :

Boil the eggs in enough water. Once cold, de shell, wash, make small slits and rub little salt in them.

Peel, wash and prepare a smooth paste of the onion.

Wash, cut, deseed and prepare a paste of the tomato.

Heat the oil in a wok, temper with the cumin seeds.

Fry the onion till the raw smell goes away. Add the ginger-garlic paste and fry for 2 minutes.

Add the tomato paste and fry for 2-3 minutes. Add the Coriander Powder, Turmeric Powder, Red Chilli Powder, salt and stir well.

Add the boiled eggs and fold in well with the spice mix.

Add a big cup of water, cover and let boil for 7-8 minutes.

Add the garam masala and stir.

Transfer to a bowl and garnish with chopped coriander leaves and dried fenugreek leaves / kasuri methi.

Enjoy with chapati / naan / parathas / roti / rice.


Monday, 31 August 2015

PRAWN CUTLET


I have a kind of addiction for fried stuffs, right from my childhood. On an all vegetarian day, mom had to prepare few kinds of fries for me and the brother, accompanied by dal, rice, a piece of lemon and a green chilli! It felt like heaven. At that time, it felt like what else do we need in life, except the mother's lap and the food cooked by her. Later, demands kept on soaring, worries too. In those days going out with mom to Shyambazaar / Newmarket for shopping and waiting for what she buys for me was the greatest pleasure. 

Coming back home and finding the brother done with all kind of mischiefs was not that much of a pleasure. If the mother was in a good mood, she would buy me cutlets, chips, otherwise it was either sweets or ice-creams. She prepared lot of this kinds at home too, because her daughter loved to eat. Keeping in tune with that tradition, I too try my hands on them quite often, for my men.

These are Prawn Cutlets, easy to prepare at home. For this we need small prawns, onion, green chilli, coriander, etc. I will not guarantee they tasted as that of Mitra Cafe / Basanta Cabin / Allen's Kitchen but I do it my own way and with all my heart. There is a lot of satisfaction in cooking for our loved ones. Let us see how we do them. Honestly speaking, I never did taste a prawn cutlet in the eateries or restaurants of Kolkata; our parents were not the kind! It is only after starting at the college, more after starting to date T; did I taste restaurant food!


INGREDIENTS :

Prawns : 250gm
Chopped Onion : 2 tbsp
Garlic Paste : 1 tsp
Ginger Paste : 1 tsp
Chopped Coriander : 2-3 tbsp
Chopped Green Chilli : 1 tsp
Cornflour : 1tbsp 
Egg : 1
Salt : As required
Oil : As much required to shallow fry

METHOD :


De-shell the prawns completely, wash thoroughly. Paste the prawns in a blender.

Take the prawn paste in a bowl. Add the chopped and washed onion+coriander+green chillies, ginger+garlic pastes, salt, black pepper powder, salt! Mix together well!

Add the corn flour & egg, mix well!


Heat the oil in a wok. Take portions in a spoon, add to the pan, flatten with the back of a spoon! Fry both the sides well!

Place onto tissue papers to drain the excess oil.

Serve hot with a salad & chutney / sauce of your choice.


Saturday, 29 August 2015

CHAMCHAM


Rakshabandhan / Rakhi Poornima;  a bond of love and care between a brother and sister, a promise to stand by each other throughout life. On such occasions, the childhood revisits me inevitably.... with how much enthusiasm I used to go to the market with the mother to buy Rakhi for my brother the night before, how eagerly bhai waited the next day to wear it before going to the school. He used to come back with more of enthusiasm with two wrists full of Rakhis, tied by his classmates. Yes, in our student life we used to tie Rakhi on our friends' wrists. Tagore introduced this concept of tying Rakhi to promote brotherhood and friendship.... was it at the time of partition of Bengal?

Our mother's middle sister mashimoni used to come with her twin boys, Dodo and Deep. Only these two cousins stayed near by. Else, I have a couple of cousins spread over Nadia district, Nagaon, Gauhati in Assam! This the reason why I did not take any initiative  to get our only son know about all these! It cannot be continued forever! But it always feels on such days that my child would never know the beauty of such occasions! I do not recommend having a single child! Having a sibling gets one a happier childhood, unforgettable memories are made! I get scared thinking what if the son does not get along with his companion, he does not have a sibling to speak to! We would not be by his side forever! I am messed up with unnecessary thoughts! The son must have some good friends around.

For us any festival is a mean to eat to our heart's content; sweets are a must. I remember how mom used to prepare a couple of dishes on the  special occasions; luchi and payesh / kheer / rice pudding would be compulsory! Kolkata is a hub for sweets, Roshogolla and Sandesh were always store bought. I try to prepare sweets at home these days, those within my capacity. This is the CHAMCHAM / CHOMCHOM  sweet pretty famous in Kolkata. I have provided stepwise pictures for your convenience. Let us do it. Later I may share the malai chamcham sweet recipe!


INGREDIENTS : [for the paneer / chena]

Milk : 1litre
Lemon Juice : 4-5 tbsp
Water : 1/4 small tea cup

INGREDIENTS :[for the sugar syrup]

Water : 5-6 big cups
Sugar : 2 small tea cups
Cardamom : 3-4

INGREDIENTS : [for the chamcham]

The freshly made chana / paneer
The freshly made sugar syrup

METHOD :

Let us prepare the cottage cheese first. 

Pour the milk into a heavy bottomed vessel, bring it to boil at medium heat. Keep stirring continuously.

Mix together the lemon juice & water, add to the boiling milk slowly. As soon as the milk curdles, switch off the gas stove!

Take a thin, clean white cloth, strain the cheese immediately. Hold it under the tap to get rid of the smell of the lemon. 

Tie it to the tap & hang for about 45 minutes to an hour.


We have taken the sugar & water in a deep bottomed vessel and put for boil! As it starts boiling, we have added the green cardamoms tearing each a bit.

While the syrup is boiling, we would rub the paneer cheese well for about 10 minutes or until it comes out clean from the plate. This mashing part is important.

We would tear small portions from the dough, roll between our palms to get oblong shaped chamchams. 


As the syrup boils, add the chamchams carefully. Cover and let them boil for 20 minutes at medium heat.


The chamcham sweets are ready after 20-25 minutes of boiling in high heat. 


I took out the chamcham sweets and arranged them in a bowl! Thereafter, I boiled the sugar syrup further for about 10 minutes to thicken; then poured over the sweets! 

You can either enjoy them warm or chilled!